
How to Set Up Payments on Shop Loco with Stripe
September 2026
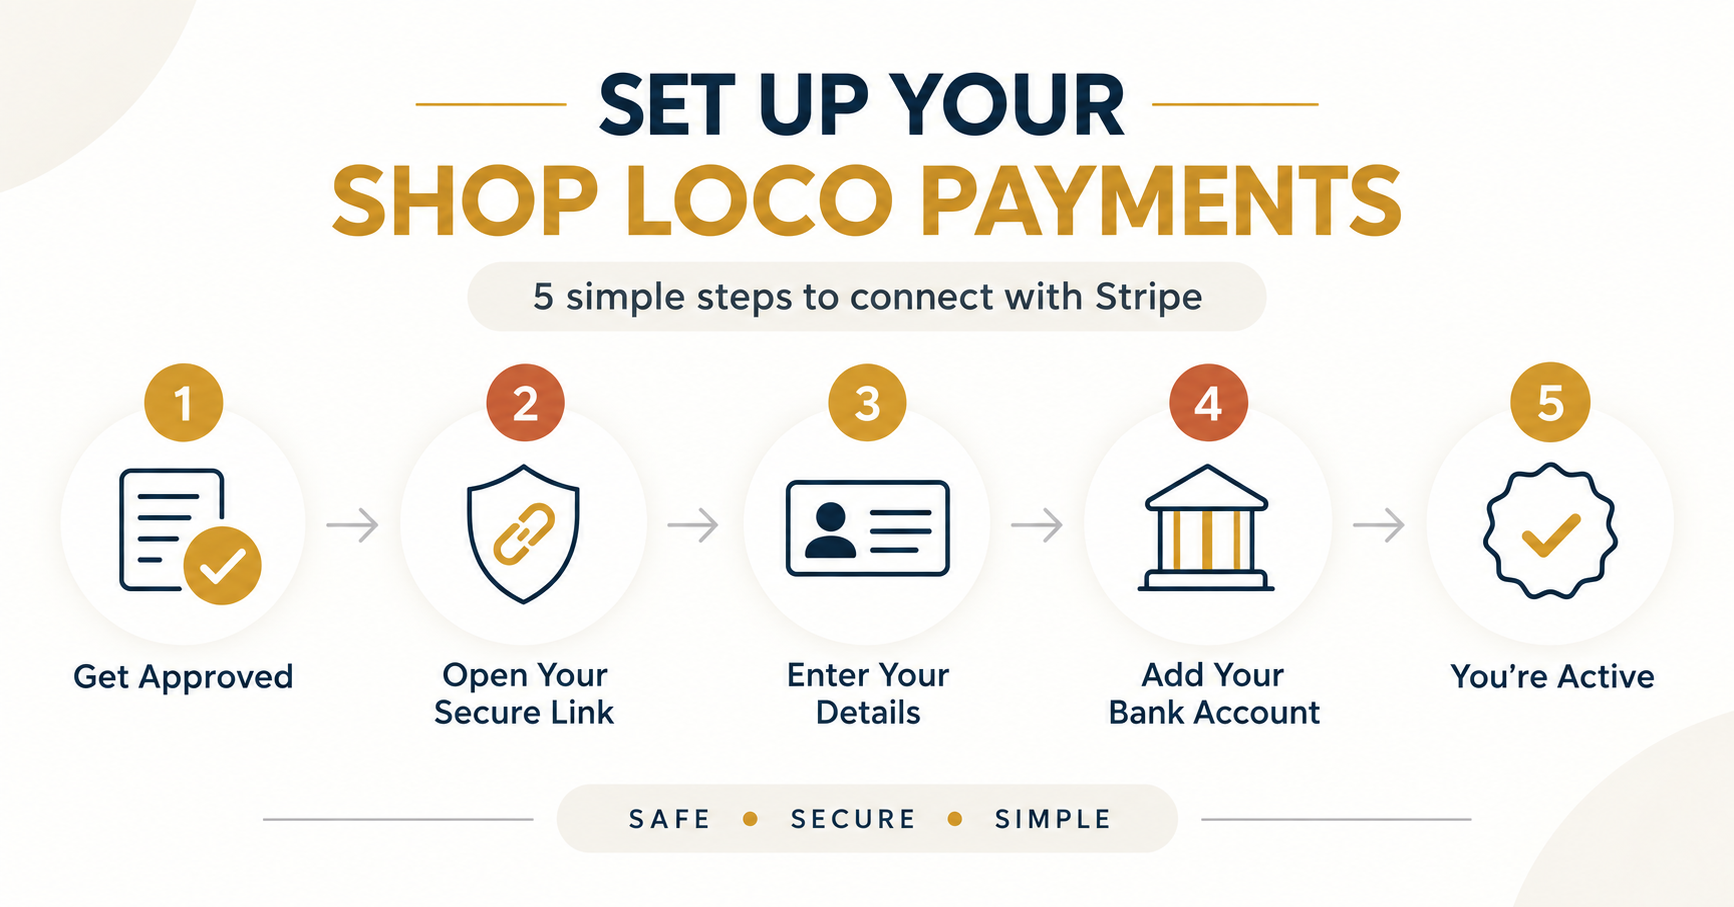
Welcome to Shop Loco!
Before you can receive payments from customers, you'll need to securely connect your bank account through Stripe.
Stripe is a trusted online payment platform used by businesses around the world. Shop Loco does not collect or store your SIN or banking information — these details are submitted directly through Stripe's secure website.
Quick Setup Checklist
Before starting, have the following ready:
- Your secure Shop Loco setup link
- Personal contact information
- Social Insurance Number
- Store name and product description
- Business Number, if applicable
- Canadian bank account information
Step 1: Get Approved by Shop Loco
Once your vendor application has been approved, the Shop Loco team will send you a secure Stripe setup link by email or message. Your link will look similar to this:
shop-loco.ca/vendor/your-store-name/connect
This link is created specifically for your Shop Loco store. Please do not share it with anyone else.
Step 2: Open Your Secure Setup Link
Click the link provided by Shop Loco. The page will briefly open on the Shop Loco website before automatically redirecting you to Stripe's secure website: connect.stripe.com.
This is normal and safe. Stripe manages the identity verification and banking process securely on behalf of Shop Loco.
Step 3: Enter Your Personal and Store Details
Stripe will ask you to provide:
- Your legal name
- Date of birth
- Home address
- Phone number
- Social Insurance Number (SIN) for identity verification
- Store name
- A short description of what you sell
Do I need a Business Number?
You only need to enter a Business Number if you operate as a registered business or company. If you are selling as an individual and do not have a registered business, you can usually skip this section.
Step 4: Connect Your Bank Account
Next, enter the Canadian bank account where you would like to receive your Shop Loco payouts. You will need:
- Transit number
- Institution number
- Account number
You can usually find these numbers on a void cheque, through your online banking account, or by contacting your bank. Carefully check that all numbers are correct before continuing. You will also be asked to review and accept Stripe's agreement.
Step 5: Complete Your Setup
Submit your information and allow Stripe time to review it. Once everything has been successfully verified, your payment status in the Shop Loco vendor dashboard will show as Active. Your store will then be connected and ready to receive payouts from eligible Shop Loco sales.
Need Help?
If your account does not show as Active, sign back in through your setup link and check whether Stripe has requested any additional information. For help with your Shop Loco account or setup link, please contact the Shop Loco team.
Ready to start selling?
Apply to become a Shop Loco vendor and reach local shoppers in Leslieville.
Become a Vendor